
Bedroom photography can make or break an Airbnb booking. Research shows that listings with well-lit, spacious bedroom photos receive 24% more enquiries than those with dim or cluttered images. Mastering Airbnb bedroom photos lighting techniques transforms how guests perceive your space, directly impacting your booking rate and revenue potential.
The bedroom is where guests will spend roughly eight hours daily during their stay. Poor lighting in your photos creates doubt about comfort, cleanliness, and space — three factors that determine whether someone clicks 'book' or scrolls past your listing. Professional hosts understand that bedroom photography isn't just about showing beds; it's about showcasing rest, relaxation, and the promise of a good night's sleep.
Why Does Bedroom Photography Lighting Matter for Airbnb Success?
Natural light photography significantly outperforms artificial lighting in booking conversions, with bright, airy bedroom images generating 31% higher click-through rates according to Airbnb's internal data.
Lighting affects three critical booking factors: perceived space, cleanliness perception, and emotional connection. Dark or poorly lit bedrooms appear smaller than they actually are, whilst bright, well-lit spaces feel more spacious and inviting. Harsh shadows or yellow artificial light can make even spotless rooms look dingy or unclean.
Beyond technical considerations, lighting creates emotional response. Warm, natural light evokes feelings of comfort and safety — exactly what travellers seek when choosing accommodation. Your bedroom photos need to answer the subconscious question: 'Will I sleep well here?'
Guests also use bedroom photos to assess value for money. A cramped, poorly lit bedroom suggests budget accommodation, even if your pricing sits in the premium range. Conversely, bright, spacious bedroom photography supports higher nightly rates and attracts quality guests who leave better reviews.
What Time Should You Photograph Airbnb Bedrooms for Best Light?
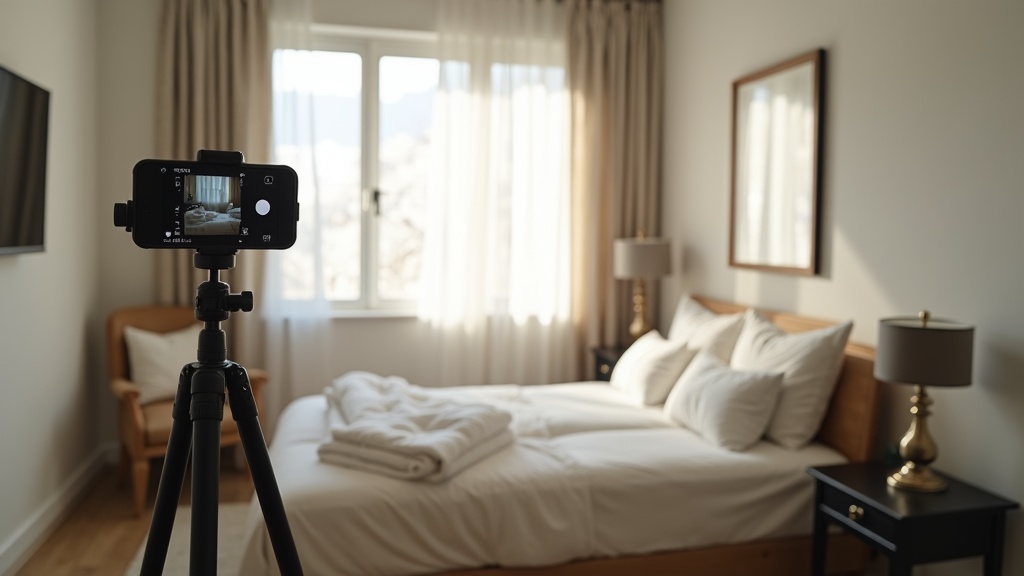
The optimal time for bedroom photography depends on window orientation, but generally falls between 10am-2pm when natural light is abundant without harsh shadows.
East-facing bedrooms capture beautiful soft light between 9am-11am, after the harsh morning sun mellows. South-facing rooms offer consistent light throughout midday hours, making them forgiving for photography timing. West-facing bedrooms often photograph best between 11am-1pm, before afternoon sun becomes too intense.
Avoid photographing bedrooms during 'golden hour' (early morning or late afternoon). Whilst this light appears romantic, it creates orange colour casts that make white bedding look yellow or dingy. Similarly, avoid overcast days if possible — the flat, grey light lacks the warmth that makes bedrooms feel inviting.
Document your bedroom's light patterns over several days. Note when natural light fills the space evenly without creating stark shadows across the bed or walls. This becomes your photography window for future updates or reshoots.
LetGrow's photo optimisation analysis examines your current bedroom images and suggests specific timing improvements based on your property's orientation and local climate patterns.
How Do You Stage Bedrooms for Professional-Quality Photos?
Successful bedroom staging combines decluttering, strategic furniture placement, and thoughtful styling to maximise the impact of natural light whilst showcasing comfort and space.
Start with bed positioning. If possible, photograph from the foot of the bed looking toward windows — this captures both the sleeping area and natural light source in one frame. Pull beds slightly away from walls to create shadow lines that add depth and dimension.
Bedding deserves special attention in bedroom photography airbnb contexts. Choose white or light neutral colours that reflect available light around the room. Iron or steam linens until pristine — wrinkled bedding photographs poorly even in excellent lighting conditions. Fold back covers at a 45-degree angle to show sheet quality and create visual interest.
Remove personal items, excessive decorative pillows, and anything that creates clutter. Keep nightstands minimal — perhaps a small lamp, single book, or simple plant. The goal is showcasing the space guests will inhabit, not your personal style.
Consider sight lines beyond the bed itself. Ensure wardrobes or storage areas visible in shots appear organised and spacious. Slightly open wardrobe doors to hint at storage space, but keep contents tidy and minimal.
Which Camera Settings Work Best for Bedroom Photography?
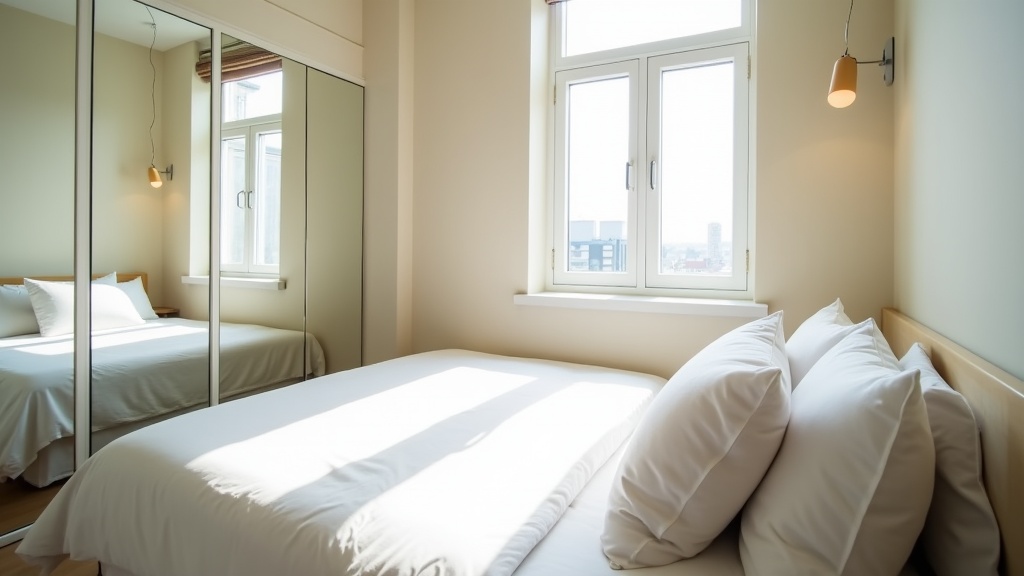
Smartphone cameras handle bedroom photography well when using portrait mode, HDR enabled, and manual exposure control to balance natural window light with interior shadows.
For smartphone photography, enable HDR (High Dynamic Range) to capture detail in both bright window areas and darker room corners. Use portrait mode selectively — it works well for detail shots of styling elements but can make rooms appear artificially narrow in wide shots.
Manual exposure control proves crucial for bedroom photography. Tap your screen on a mid-tone area (such as the bedding) rather than the brightest or darkest part of the scene. This prevents overexposed windows or underexposed room interiors.
If using a dedicated camera, shoot in RAW format for maximum editing flexibility. Set ISO between 400-800 for handheld shooting — modern cameras handle this range without noticeable grain. Use aperture priority mode (A or Av) with f/8-f/11 for sharp focus throughout the room.
Avoid using direct flash, which creates harsh shadows and unnatural colour casts. If additional light is necessary, position it to bounce off walls or ceilings, mimicking natural light patterns.
How Can You Maximise Natural Light in Small Bedrooms?
Natural light staging bedroom techniques for compact spaces focus on reflection, strategic colour choices, and removing visual barriers that block light flow.
Mirrors multiply available light dramatically. Position a large mirror opposite or adjacent to windows to bounce natural light around the room. Even small mirrors on nightstands can brighten dark corners when positioned correctly.
Light-coloured walls and bedding act as natural reflectors. If repainting isn't feasible, use white or cream bedding, throws, and curtains to maximise light reflection. Dark colours absorb light, making small bedrooms feel cramped in photos.
Remove heavy curtains or blinds during photography sessions. If privacy concerns exist, use sheer panels that filter harsh light whilst maintaining brightness. Completely clear windows photograph best, showing outdoor views that suggest space beyond the room itself.
Strategic decluttering opens sight lines and prevents shadows. Remove furniture pieces that aren't essential for the shot — a clear path from door to window creates depth and allows light to travel freely through the space.
Consider photographing from different heights. Sometimes shooting from slightly above bed level (standing on a sturdy chair) captures more of the room whilst maintaining natural light flow from windows.
What Common Bedroom Photography Mistakes Should You Avoid?
The most frequent errors include inconsistent white balance, cluttered backgrounds, poor angle selection, and mixing natural with artificial light sources.
White balance issues plague many bedroom photos. Windows provide cool, blue-tinted light whilst indoor bulbs cast warm, yellow tones. Using both simultaneously creates colour confusion that makes spaces look unprofessional. Choose one light source and commit — typically natural light produces superior results.
Angle selection dramatically affects room perception. Photographing from the doorway often creates cramped, tunnel-like images. Instead, position yourself at the room's corner to capture both depth and width. Avoid shooting directly into windows, which causes silhouetting and loss of detail.
Cluttered nightstands, visible personal items, and unmade beds instantly reduce booking appeal. Guests want to envision themselves in the space, not navigate around your belongings. If styling feels sparse, add one or two hotel-like touches — a small plant, quality lamp, or single decorative object.
Overprocessing photos creates unrealistic expectations. Heavy filters, excessive brightness adjustment, or saturation boosts may improve visual appeal but can disappoint guests if reality doesn't match the images.
For comprehensive feedback on your current bedroom photography and specific improvement suggestions, LetGrow's free listing score analyses your photos alongside pricing, titles, and amenities for complete optimisation guidance.
How Do Different Bedroom Types Require Different Photography Approaches?
Master bedrooms, single rooms, shared spaces, and studio apartments each demand tailored photography strategies to highlight their unique selling points whilst managing lighting challenges.
Master bedrooms offer space for multiple angles and styling opportunities. Capture wide shots showing the entire room, medium shots focusing on the bed area, and detail shots highlighting quality touches like thread count or designer elements. Large windows typically provide ample natural light, allowing for dramatic architectural shots.
Single bedrooms require careful composition to maximise perceived space. Focus on clean lines, minimal styling, and strategic angles that suggest roominess. Emphasise unique features like built-in storage, reading nooks, or interesting architectural details that justify the room rate.
Studio apartments demand especially thoughtful approach since the bedroom area shares space with living and kitchen zones. Use natural light to define the sleeping area whilst ensuring background elements (sofa, kitchenette) appear organised and complementary rather than cluttered.
Shared accommodations need photography that balances privacy with openness. Show enough of the space to demonstrate value whilst maintaining intimate, personal feeling that suggests comfortable rest despite the shared nature.
Which Editing Techniques Enhance Bedroom Photos Without Over-Processing?
Subtle brightness adjustment, shadow lifting, and colour temperature correction improve bedroom photos whilst maintaining realistic representation that matches guest expectations upon arrival.
Start with basic exposure correction. Slightly brighten images if they appear too dark, but avoid making them unnaturally bright. The goal is replicating what the space looks like during optimal lighting conditions, not creating fantasy versions.
Shadow and highlight recovery proves particularly valuable for bedroom photography. Lift shadows to reveal detail in darker corners whilst pulling down highlights to prevent overexposed windows. This creates more balanced exposures that show the entire space clearly.
Colour temperature adjustment ensures consistency across all bedroom photos. Cool down overly warm images or warm up photos that appear too blue. Aim for neutral, natural-looking colours that accurately represent your bedding and decor.
Straightening and cropping improve composition without altering reality. Ensure beds appear level and walls remain vertical. Crop tightly enough to remove distracting elements whilst maintaining sense of space and proportion.
Avoid heavy-handed saturation increases, dramatic contrast adjustments, or artistic filters. These may look appealing on social media but create unrealistic expectations for guests who've booked based on enhanced images.
Professional photo optimisation goes beyond basic editing. Our comprehensive photo optimisation guide covers advanced techniques for every room type, whilst understanding quality versus quantity considerations helps determine which bedroom shots truly drive bookings.
How Many Bedroom Photos Should Your Listing Include?
Include 2-4 bedroom photos per sleeping space: one wide establishing shot, one styled detail image, and additional angles for larger or uniquely featured rooms.
The establishing shot should capture the entire bedroom from the best available angle, showing bed, windows, and overall layout. This becomes guests' primary reference for space and comfort assessment.
Detail shots highlight quality elements — premium bedding, reading areas, storage solutions, or architectural features. These images support higher pricing and attract guests who value comfort details.
Multiple bedrooms require individual attention. Don't assume one bedroom photo represents all spaces. Guests often book based on specific room preferences, particularly in group bookings or family accommodations.
Avoid redundant angles or overly similar shots. Each bedroom photo should provide new information about comfort, space, or amenities. Quality trumps quantity — three excellent bedroom photos outperform eight mediocre ones.
Consider your competition when determining photo quantity. Check similar local listings to ensure your bedroom photography coverage matches or exceeds market standards. Under-photographed bedrooms suggest lack of pride or hidden problems.
For guidance on optimal photo quantity across your entire listing, our complete photography guide provides room-by-room recommendations, whilst kitchen photography techniques and bathroom photography strategies complete your visual marketing approach.
Conclusion
Mastering bedroom photography lighting transforms how guests perceive your Airbnb, directly impacting booking rates and revenue potential. Natural light, thoughtful staging, and careful editing create images that showcase comfort and quality whilst accurately representing your space.
Remember that bedroom photos answer crucial guest questions about sleep quality, space, and value for money. Invest time in optimal timing, proper staging, and subtle editing to create images that convert browsers into bookers.
Ready to see how your current bedroom photography performs against local competition? Get your free listing score at LetGrow for detailed analysis and specific improvement recommendations.